Things to know
The main scheduler script should be installed at the end of the website <body> first prior to installing the button code.
For more information on installing ServiceTitan's Web Scheduler 2.0, see Set Web Scheduler for Office Employees
The ServiceTitan Web Scheduler 2.0 requires a button element and an onclick attribute installed in the website code in order to trigger the scheduler widget popup. However, the onclick attribute code may not work with the preset button elements in certain website editors (such as WordPress). Instead of a preset button element, use a custom HTML code block to install the button and attribute code.
Follow the Retrieve button HTML code workflow first to create the button HTML (you can skip this section if you already have a button HTML code). Then follow the Use a custom HTML code block to install the button code section to install the button code into WordPress.
Workflows
Retrieve button HTML code
Add a preset button element to your site and then copy that button's source HTML code to use in a custom HTML code block. If you already have the button HTML code on hand, you can skip this section and go straight to the Use custom HTML code block to install button code section.
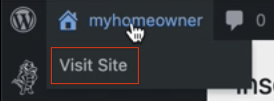
In your company's WordPress website editor, click on the home icon in the upper left corner and then click Visit Site.
Then click Edit Page from the top navigation bar.

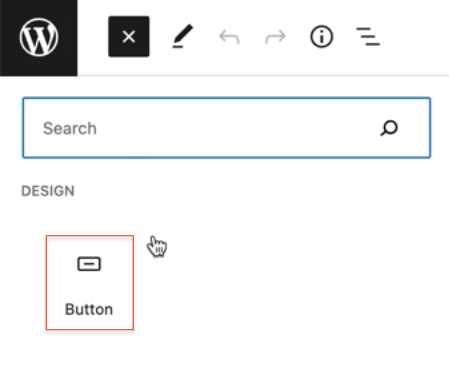
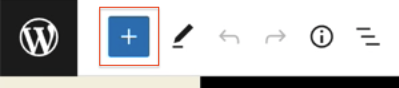
In the site editor, click on the + icon at the top.

Search for and click the Button option to add a button element to your site.
Enter the desired customer-facing text (for example, Schedule Now!) into the new button.
Click the 3 dots on the right in the new button menu, and select Edit as HTML.
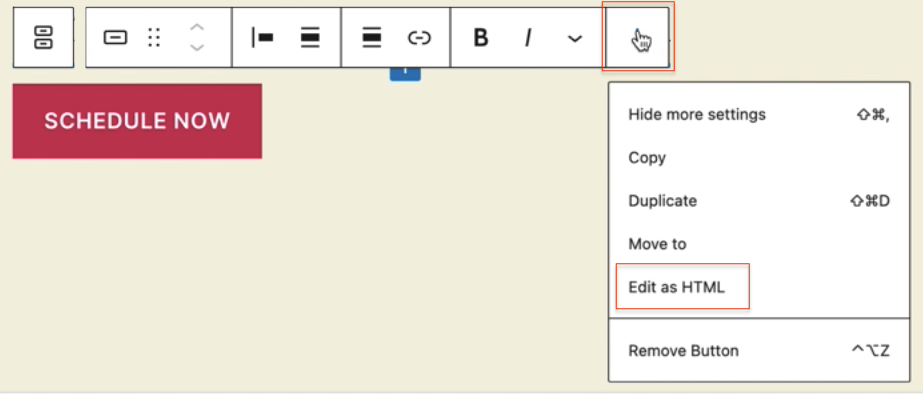
Highlight and then copy the HTML code that appears in the box.

Delete the button element that was just added.
Move on to the next Use a custom HTML code block to install the button code section.
Use a custom HTML code block to install the button code
In the WordPress site editor, click on the + icon at the top.
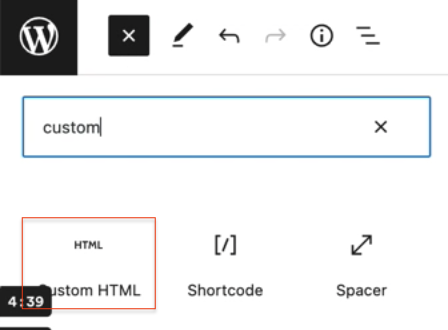
Search for and click the Custom HTML option to add a custom HTML code block to your site.
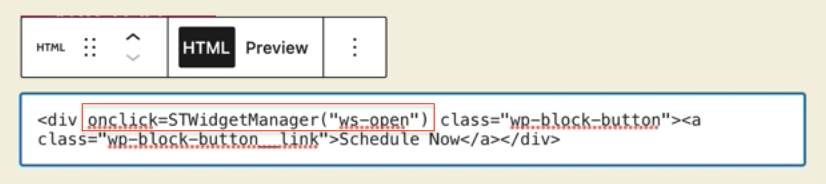
Paste your button HTML code into the custom HTML box.

Copy the following onclick attribute code:
onclick=STWidgetManager("ws-open")
Paste the attribute code from step 12 into the custom HTML code block - it can be inserted into the opening tag (for example, <button onclick=STWidgetManager("ws-open")>Button Text</button>).
Edit the button's design as needed.
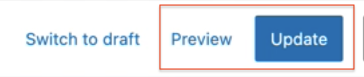
Click Preview from the upper right corner of the website editor to preview the button and scheduler widget.
Once the scheduler button is satisfactory, click on Update from the upper right corner to save changes.