Overview
Who uses this feature
Managers and office employees
Feature configuration
Account configuration is required to use this feature. Please contact Technical Support for details.
Note: This feature has been updated for most users and the processes are different. For the updated version, see the Purchase orders section under the Purchasing module page.
Things to know
If you check Include in Purchase Order Screen when creating a PO, then the PO will show on the Purchase Ordering screen.
If you do not check Include in Purchase Order Screen when creating a PO, then you will be able to export to QuickBooks as soon as you create the PO because this will be a manually bought material.
Create, edit, or delete a line item purchase order
There are two locations you can initiate the creation of a line item purchase order:
Job screen
Job invoice screen
To create, edit, or delete a line item PO from the job invoice screen, complete the following:
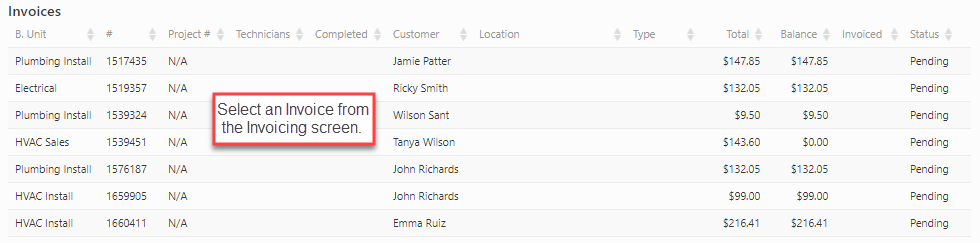
Navigate to the Invoice > Invoicing.
Under Invoices, select the invoice you wish to create a line item PO for.
Click Add a purchase order.

Enter the following fields:
P.O. Type
Select one of the following PO types:
Special Order: Select this when you need to order materials/equipment (that are not part of truck stock) to complete a customer job. For example, your customer needs to replace their faucet. They want a specific brand that your company does not stock. You will need to order this item from a vendor to complete the job.
Supply House Run: Select this when your technician purchases materials/equipment at a supply store to complete a job. For example, your technician is completing toilet installations and needs to purchase additional wax rings. They go to a supply store, purchase the wax rings, and returns to the customer's house to complete the installations.
Subcontractor: Select this for subcontractor POs.
Warranty: Select this for POs related to warranties.
To set up PO types, navigate to Settings > Purchase Order Types.
Vendor
Select the vendor you wish to purchase the materials from. To set up vendors, navigate to Settings > Vendors.
Select Required Date
Select the required date that you need the material by.
Vendor Invoice Number
This is an optional entry. The Vendor Invoice Number is provided by the vendor.
Note: If you are exporting POs to QuickBooks as bills, you are able to send the Vendor Invoice Number to the Ref. in QuickBooks. This feature is not enabled by default. To use this feature, contact your success or implementation manager to configure your account.
Technician
Select the technician the PO is for.
Date
The date the PO is being created on.
Summary
Optional entry. Enter any additional notes you have for the PO.
To add a line item to your PO, click Add Item.
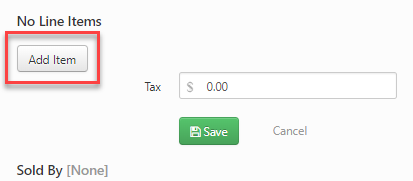
Enter the following information for the item:
Name
Quantity
Cost
Description
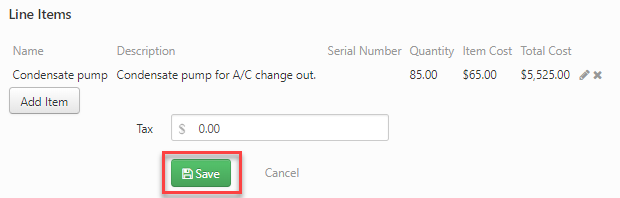
Click Add Item.
Click Save.
The PO you create will be on the Invoice screen under Purchase Orders.
On the invoice screen, click the Edit Pencil , x Delete, or print icon next to any existing purchase to edit, delete, or print the purchase order.

Send a purchase order on the Purchase Order screen
To send a purchase order on the Purchase Order screen, complete the following:
Navigate to Invoice > Purchase Ordering.
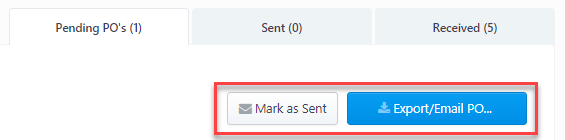
Click the Pending PO's tab.

Check the PO you wish to send.
Note: If you wish to edit the PO before sending it, complete the following:
Navigate to Invoice > Purchase Ordering.
Click Pending PO's.
Select the PO you wish to edit.
A Purchase order details screen will appear. Click Edit PO Items.
You can edit the following fields:
Ship To Address
Required Date
Memo
Cost
Quantity
Tax
Shipping
When you are finished editing the PO, click Save.
Click HIDE to exit the Purchase order details screen.
Click Export/Email PO or Mark as Sent.
Receive a purchase order on the Purchase Order screen
To receive a purchase order on the Purchase Order screen, complete the following:
Navigate to Invoice > Purchase Ordering.
Click the Sent tab.

Check the PO you wish to receive.
Click Mark As. Then, click Shipment Received.

Click the Received tab to view received POs.
