Overview
To create a Service Agreement you need to add and activate at least one service agreement template.
Who uses this feature
Administrators, accountants, estimators, project managers, and operations managers.
Primarily benefits Commercial Service and Replacement business types
Applies to all trades
Feature configuration
The Create/Edit Service Agreement Templates permission is required to use this feature. Please contact the account administrator on your team.
Things to know
Service Agreement Templates can't be deleted, only deactivated.
Edits to a service agreement template DO NOT impact agreements created in the past. Only new agreements created using the edited template contain the updates.
Coming ST-83:
Disclosure copy is the exception. Disclosure copy is the Agreement, Payment, and Renewal authorization text in the Disclosures section of a template. Customers see it in the Mobile App. When you edit it on a template, existing agreements are affected based on their status:
Draft and Sent agreements: These pick up your edits.
Accepted and Activated agreements: These keep the copy the customer saw when they signed. They pick up your edits when the agreement renews.
Cancelled and Expired agreements: These keep the copy the customer saw when they signed.

Add a service agreement template
Go to the navigation bar and click Settings
 .
In the side panel, click Operations > Service Agreement Templates.
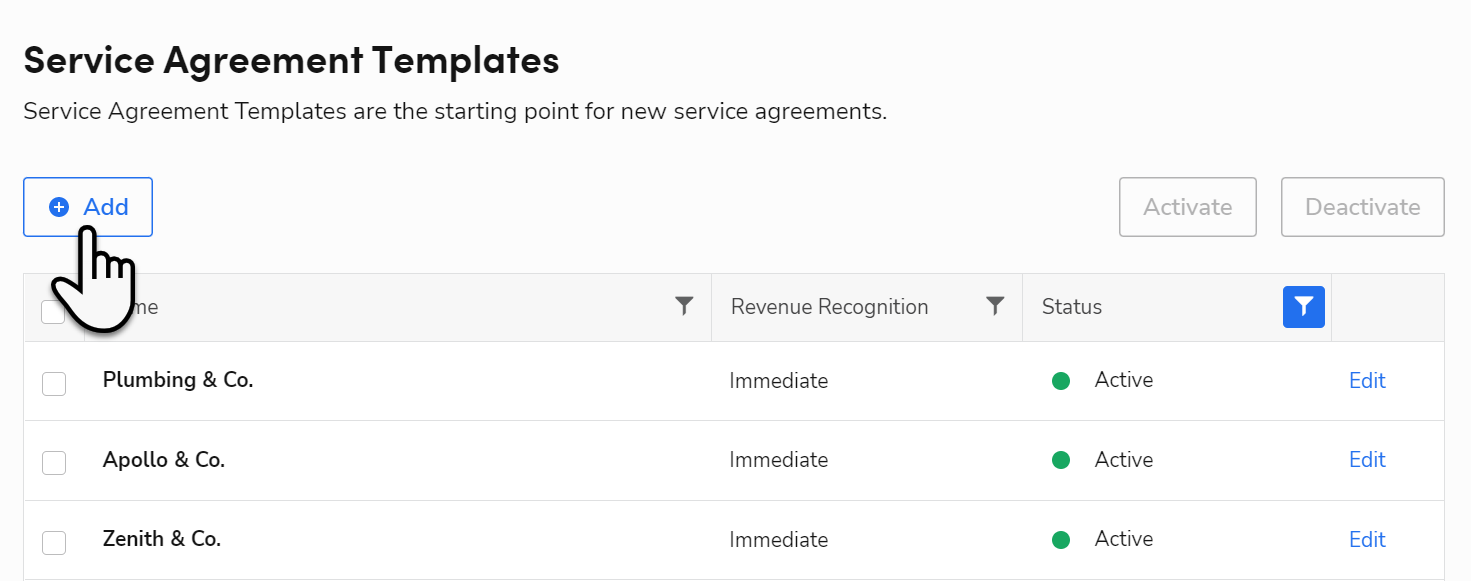
Click Add to add a new service agreement template.
On the Add Service Agreement Template screen that opens, provide the following details:
For Name, enter a unique, brief, and descriptive name. This name is only displayed internally.
(Optional) For Display Name, enter the name that pre-fills the Agreement Name when someone creates a new agreement from this template.
Select a Tag for the service agreement template. These tags appear on the Customer, Location, and Jobs screens when the agreement is in Activated status.
Note: If the tag you want to add is not available, go to Settings
> Operations > Tag Types and create a new tag. For more, see Manage tags.
Coming ST-83:
A new required section called Channels, where you choose which channels can use this template to sell agreements. Select Office, Mobile, or both:
Office
Mobile
Select Mobile if you want technicians to use this template to sell agreements in the field.
Then, for Payment Method Required, choose Required (a valid payment method must be on file before the agreement can be activated) or Not Required (no payment method is needed at point of sale).
Then, in the Disclosures section, review the Agreement Authorization, Payment Authorization, and Renewal Authorization text. Customers read and agree to this text before they sign an agreement in the field. All three are required, and each can be up to 500 characters.
The mobile app adds a standard line after the Agreement Authorization and Payment Authorization text. For Payment Authorization, select a Billing Schedule to load the default text.

For Revenue Recognition, select how revenue received is treated for agreements that use this template. You can choose one of the following methods:
Immediate Recognition: The system sends the revenue received from this agreement directly to the income general ledger account selected in the template.
Select the Items and Pricing Service: This is the item that gets billed for the agreement. It’s tied to the general ledger account you’re using for this template, so it’s how the money from the agreement lands in the right place in your books.

Deferred Recognition: Revenue received from this agreement is deferred in the liability general ledger account selected in the template. This Deferred revenue is then recognized in the income general ledger account as services are delivered. If you select Deferred Recognition, also choose a recognition method:
Percent-complete (Recommended): Revenue is recognized proportionally based on the progress of work completed during each visit. Optionally, select Recognize revenue by service to split each visit's revenue across services with general ledger accounts, based on the cost of the services performed. This option only applies to Price-Per-Visit pricing, and changes only apply to agreements sold after the change.
Straight-line: Revenue is recognized evenly across the monthly periods within the duration of an agreement.

Note: If you selected Deferred Recognition for the Revenue Recognition method, also provide the following:
Liability General Ledger Account: Select the general ledger account that holds funds until recognition. To add accounts, go to the General Ledger Accounts settings page.
Canceled Agreements: Choose how to manage canceled agreements with deferred balances: Always create a charge/refund Invoice, Give the option to create a charge/refund invoice (recommended), or Never create a charge/refund invoice.
Negative Liability Items and Pricing Service: Select the service that draws money from the liability account after visits are completed.
Positive Income Items and Pricing Service: Select the service that transfers money into the income account after visits are completed.
(Optional) Enter Default Values. These values are used for service agreements built from this template:
Pricing Benefits: Click Add Pricing Rule to associate a single pricing rule with this template. Agreements created from this template inherit the rule, which gives customers additional pricing benefits for work outside the scope of the agreement.
Document Template Design: Select a template design that is used when printing and emailing the agreement.

Coming ST-83:
A new field called Agreement Summary: Enter a summary that pre-fills new agreements created from this template. Customers may see it when technicians sell agreements in the field.

Duration: Select the duration of the agreement in months or years.
Coming ST-83:
A new field called Visit Templates: Link one or more active visit templates. Agreements created from this template start with these visits in the Scope of Work step.

Billing Schedule: Select the frequency at which the customer is billed.
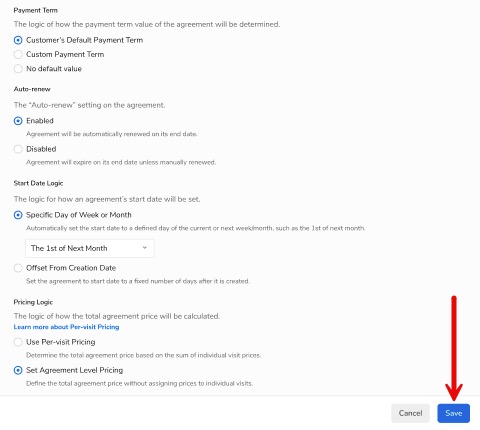
Payment Term: Select how the payment term value is determined:
Customer's Default Payment Term: The agreement uses whatever payment term is already set on the customer’s account. If a customer is set up for Net 30, their agreements are too.

Custom Payment Term: You pick one payment term for every agreement made from this template, like Due Upon Receipt. It applies no matter what’s on the customer’s account.

No default value: The template doesn’t set a payment term, so whoever creates the agreement chooses it.
Auto-renew: Select Enabled to automatically renew the agreement on its end date. Select Disabled if the agreement should expire on its end date unless someone manually renews it.
Start Date Logic: Select how the agreement start date is set: Specific Day of Week or Month (for example, the 1st of next month) or Offset From Creation Date (a set number of days after the agreement is created).
Pricing Logic: Select how the total agreement price is calculated: Use Per-visit Pricing (the sum of individual visit prices), Set Agreement Level Pricing (a total price without prices for individual visits), or No default value (leave pricing logic to be set on agreements created from this template).
Material Cost - Markup Value (%): Enter the percentage markup applied to the total material cost.
Labor Cost - Markup Value (%): Enter the percentage markup applied to the total labor cost.
Material Cost - Surcharge ($): Enter the dollar amount added to the total material cost.
Labor Cost - Surcharge ($): Enter the dollar amount added to the total labor cost.
Labor Cost/Hour: Enter the hourly labor cost used to calculate the labor cost per visit.
Extra Travel Labor Cost/Hour: Enter the hourly labor cost used to calculate the Extra Travel Cost.
Marketing Campaign: Select the campaign value used when booking visits into jobs.
Tip: Setting these Default Values will automatically pre-populate fields when creating service agreements, helping to reduce clicks and setup time.
When finished, click Save.
Edit a service agreement template
Go to the navigation bar and click Settings
.In the side panel, click Operations > Service Agreement Templates.
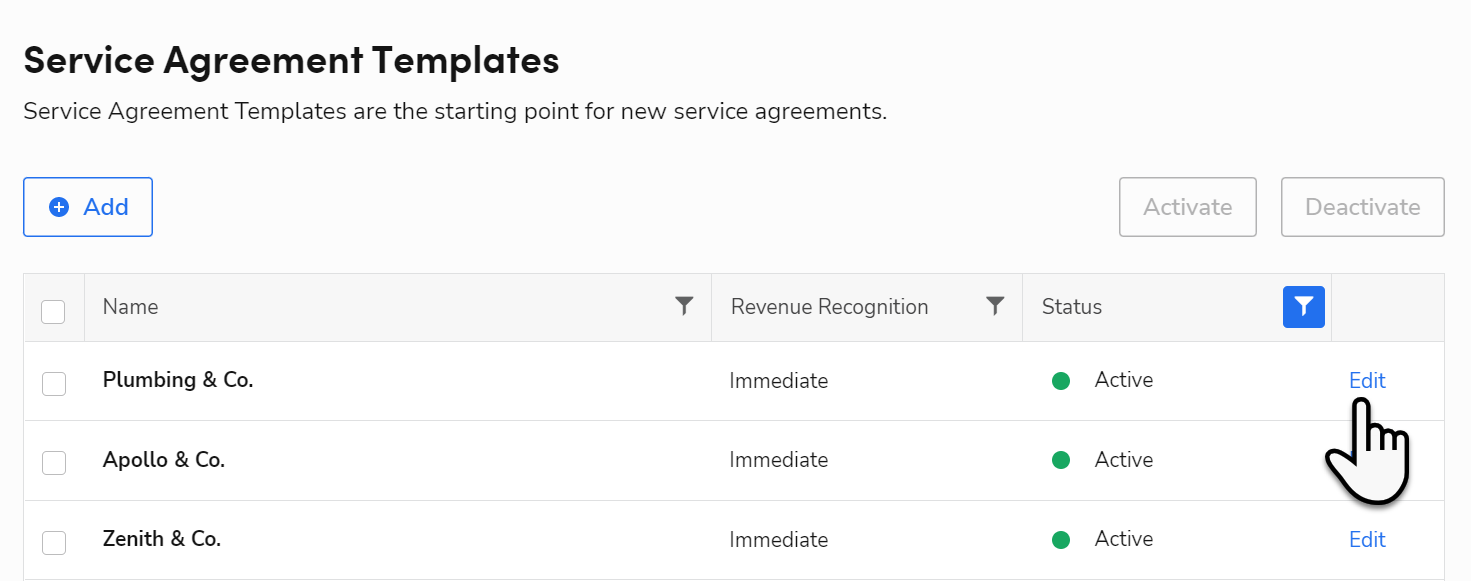
Find the service agreement template you want and click Edit.
On the Edit Service Agreement Template - [Template name] screen that opens, edit your content as needed.
When finished, click Save.
Note: Edits to a service agreement template DO NOT impact agreements created in the past. Only new agreements created using the edited template contain the updates.
Want to learn more?
Visit ServiceTitan Academy and enroll in Creating & Managing Service Agreements